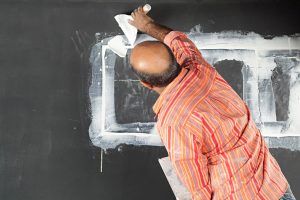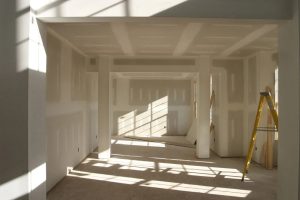
Among all the construction materials, drywall is the most sturdy and durable that every contractor uses to set up the foundation of a building. Despite its strong characteristics, drywall is vulnerable to cracks, holes, dents, etc., making it destructible over time. Fortunately, drywall repair is quite easy to restore the durability of your building. However, you need to be familiar with the essential dos and don’ts, to enable neat and hassle-free work.
It is always advisable to seek professional assistance in case of extensive drywall damages that are difficult to restore without expert intervention.
Dos and Don'ts for Drywall Repairing
Do Use The Best Tools And Techniques
The first and foremost thing to remember is to get the best tools and techniques handy for the job. If you want to minimize the errors and maximize the results, focus on buying all the essential tools that will make the task seamless. Some vital tools for drywall repair include a mud pan, sanding sponges, a putty knife, a drywall patch kit, and a joint compound.
Don't Complicate The Job With Patching
Patching the drywall manually means wasting a lot of time that can be utilized on other tasks. Instead of buying different ingredients for patching, use off-the-shelf patching kits that will simplify the patching process. There are drywall patch kits and self-adhesive tapes ideal for repairing any small holes instantly. Use the combination of drywall compound and primer to prep up a paint-ready wall surface.
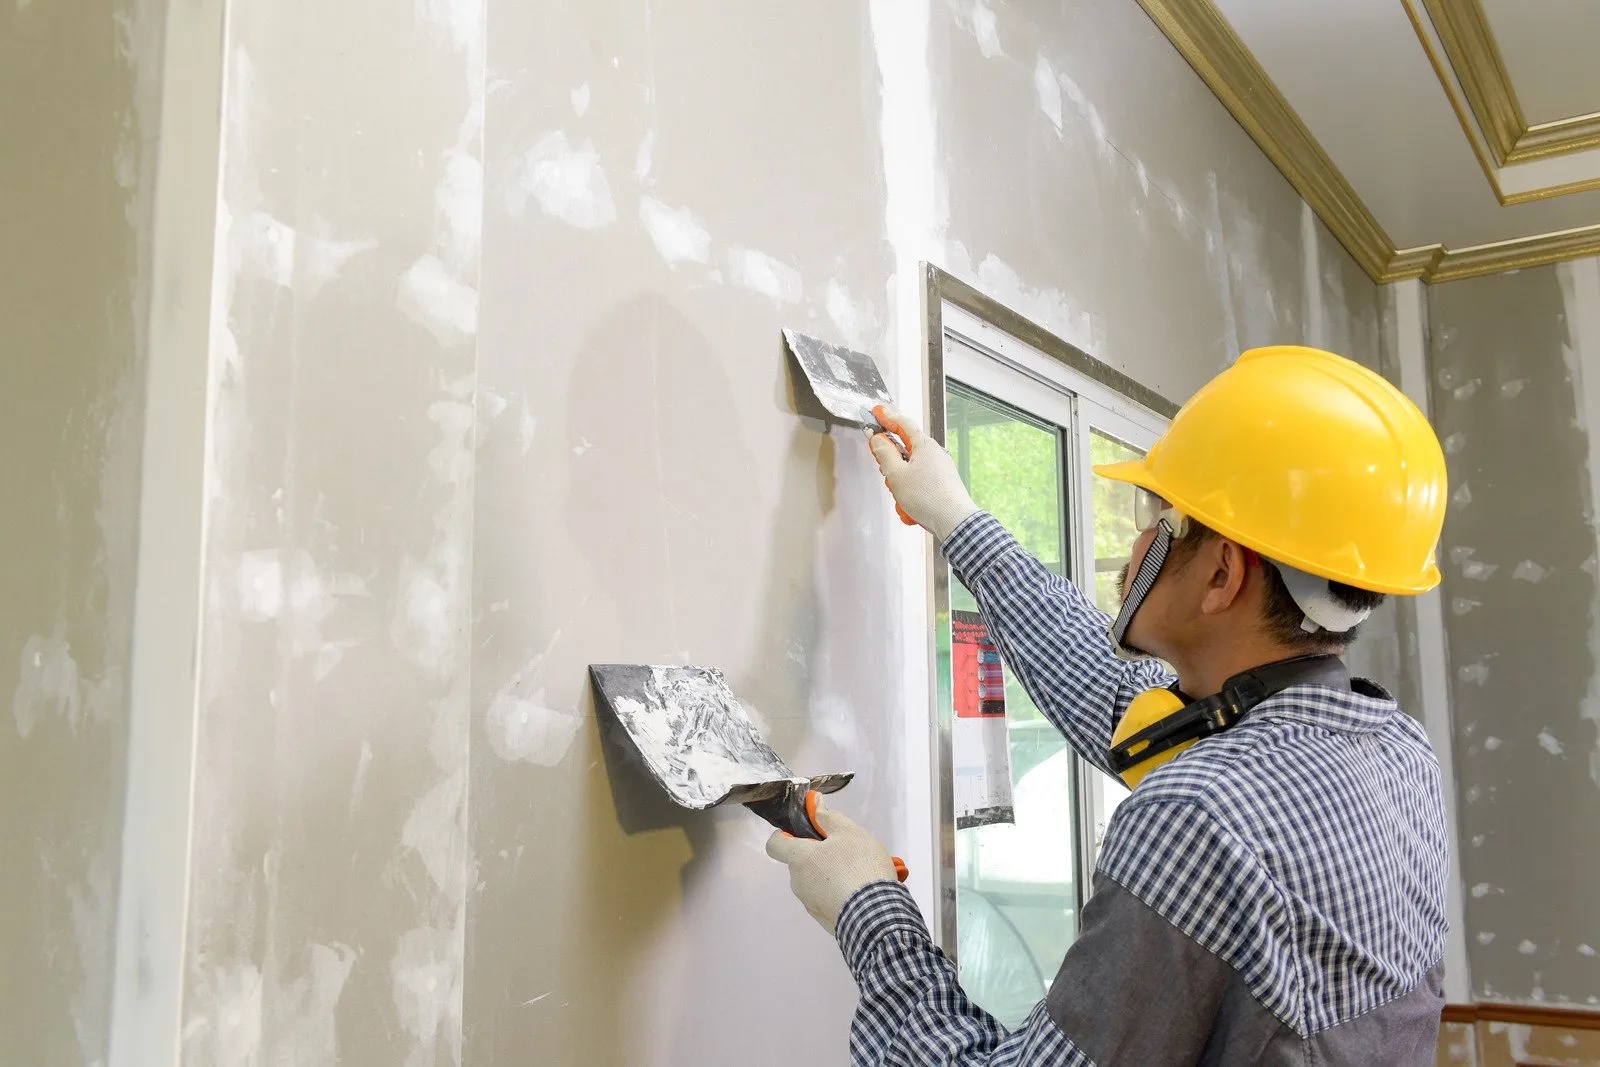
Do Use the Joint Compound Optimally
When it comes to drywall repairing, joint compound is the most crucial ingredient. It comes in handy in fixing minor dents or scratches. Create a thin layer of joint compound for dents and scratches smaller than ½ inch. Patch up the compound with a quality putty knife of approx. 3-4 inches. Dents or holes bigger than ½ inch would require mesh support before compound. If you directly apply the joint compound to the holes, it will dry and crumble, making the holes reappear as the house is built completely.
Don't Cut The Electrical and Plumbing Lines
It is one of the most common mistakes people make during drywall repairing. Before even beginning the task, check all the electrical and plumbing lines that go through the walls, and make sure they are not in contact with the wall you are working on. There are chances that you might cut into the lines turning into a fatal situation. Hence, use a flashlight for repairing wider holes to detect any lines.
Do Use Furring Strips For A Large Patch
A drywall hole that is 6 inches or wider may require furring strips to provide enough strength to the patch and ensure the repair also holds up. For this, cut furring strips 4 inches longer than the drywall hole and make a hole halfway through the center of the strip with a screwdriver. Now place the strip inside the hole holding the head of the screwdriver. Screw through the hole a few times until it is secure, and fix a new furring strip on the wall with drywall screws.
The Bottom Line
Drywall gives your building strength and durability from within. That is why it is essential to check the health of drywall and follow maintenance practices whenever required. While you can address minor tweaks and repairs, it is advisable to seek professional assistance and contact the best drywall repair service provider in your area.
Prime Hues Painting is a one-stop destination to avail of a wide range of home improvement services, including drywall repair in Newport, Minnesota, and surrounding areas. Get in touch with the team to enjoy affordable and high-quality drywall repair services today.